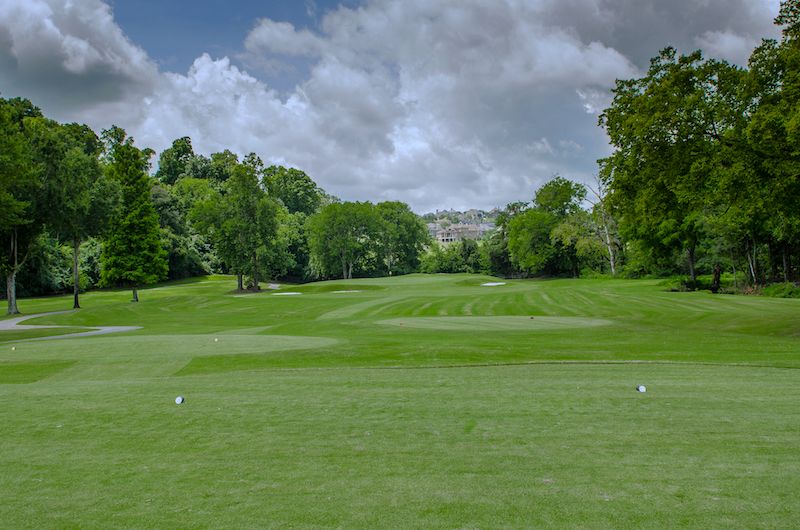
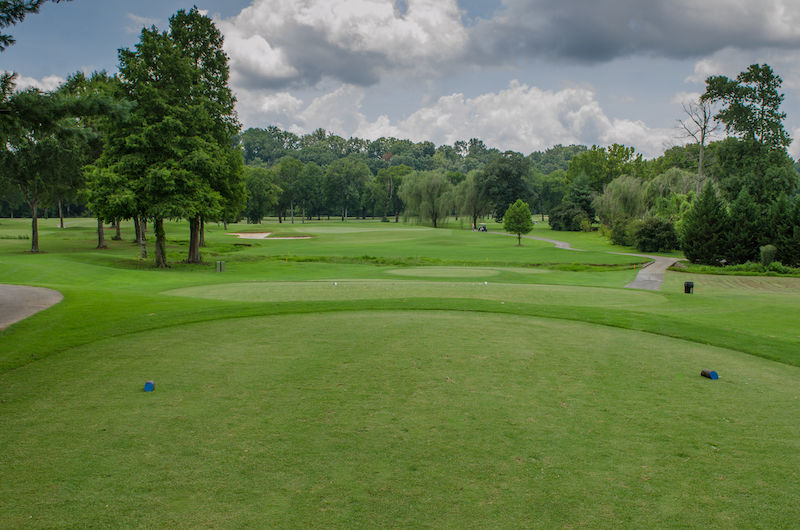
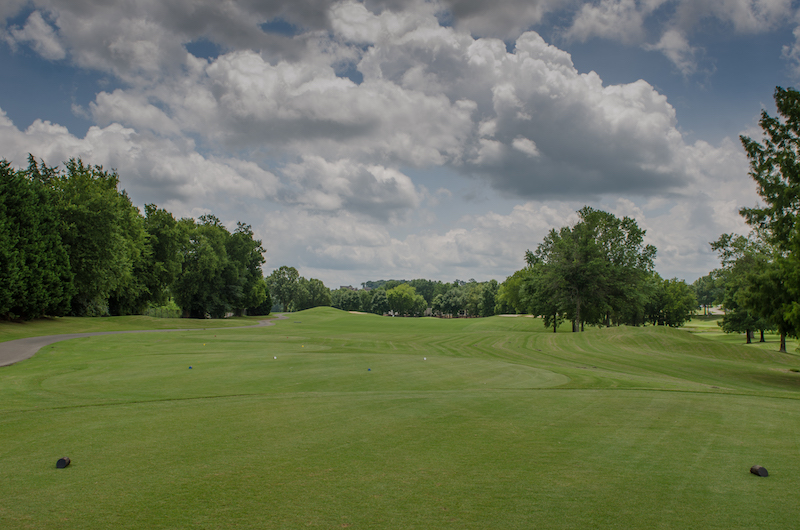
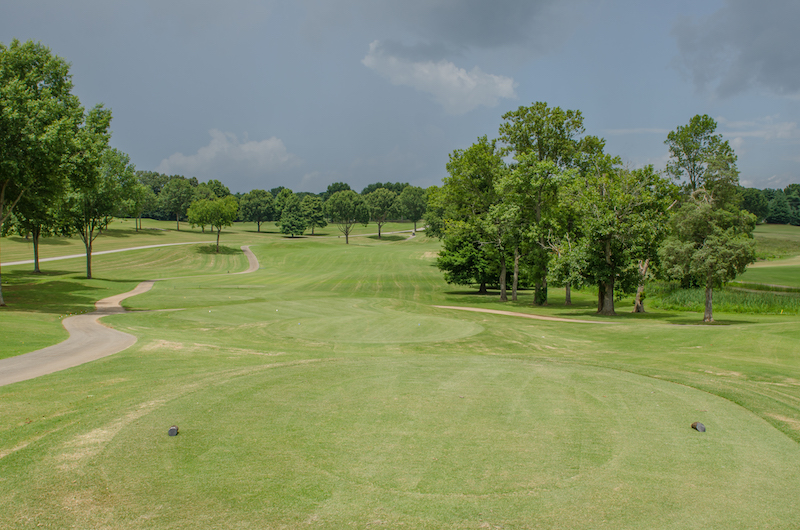
1.This straightaway par-5 has a blind tee shot but still provides an excellent chance to reach the green in 2. There is a creek about 100 yards from the green that will come into play.

2. Hitting the center of the green is the ideal play with bunkers guarding all sides of this short par-3.

3. The #1 handicap hole on the course is lined with trees on both sides of the fairway and out of bounds lurking the entire length of the right side.

4. Hitting the fairway on this tree-lined hole might require something other than driver from the tee. Big hitters can try to carry the bunker strategically placed in the left side of the fairway.

5. If you like to take risks you can try to clear both creeks from the tee, but the safe play is laying-up between the creeks. A lay-up will leave a mid-iron shot to a challenging two-tiered green.

6. Club selection on this par-3 becomes a premium because of the large green. If the pin is in the back, add a club but be careful of the creek and bunkers on the left side.

7. Hitting your tee-shot down the left side of the fairway takes the large tree on the right out of play. The creek between #7 & #8 also should deter you from going right.

8. This short par-4 has bunkers guarding your landing area as well as a creek running the entire right side of the hole. Again, driver might not be necessary off of the tee.

9. A dogleg right par-5 with out of bounds along the entire right side of the hole. Check the pin location before hitting your approach shot into this long green with an upper tier in the back of the green.

10. The back nine starts with a long up hill par-5 double dogleg. Avoiding the bunker off the tee is a must, but long hitters can carry the bunker. The most undulating green on the course requires accuracy and a steady touch.

11. A downhill par-3 plays can play harder than it looks. Missing the green on any side could leave a difficult chip to a slippery green.

12. Bunkers on the right side of the fairway will shrink your landing area on this straightway par-4. Yardage is crucial on approach shots as the green is narrow in spots.

13. Perfectly placed bunkers guarding the fairway can alter one of the best driving holes on the course.

14. The most demanding par-3 on the course requires an accurate long iron shot over a creek to a green that funnels toward the center.

15. An intimidating driving hole that can provide a birdie opportunity with two well placed shots in the fairway. Riskier players who like to cut the corner can reach this par-5 in two.

16. This dogleg left par-4 has too many trouble spots to mention. A perfect drive would be right to left around the big tree in the fairway. There is a bailout area to the right of the two-tiered green where par is always a good score.

17. Take an extra club on your second shot as you hit uphill into a dangerous two tiered green.

18. A great finishing hole that has more of a landing area than it appears from the tee. The elevated green is narrow and might require an extra club to reach the back.